- User Guides
- Getting Started
- Organization Chart
- Job Descriptions
- Four Key Functions
- Four Key Functions
- Sub Functions
- Adding Processes to the Four Functions
- Deleting Processes
- Moving Processes from One Key Function to Another
- Moving / Recording Processes within a Key Function
- Printing Process Lists
- Process Color Identification
- Mark a Process as Complete
- Adding From a Process Library
- Process Documentation Tools
- Documenting Work Processes
- Edit Title and Objective of Process
- Creating New Process Tools
- Editing Existing Process Tools
- Delete a Process Tool
- The Deleted Folder
- Archiving a Process Tool and The Archive Folder
- Printing Process Tools
- Saving Process Tools
- Reordering Process Tools
- Inserting a Hyperlink
- Building Work Plans
- Deleting Tasks and Expectations
- Editing Existing Tasks and Expectations
- Check Lists
- Scripts
- Upload Files
- Documents
- Custom Forms
- Policy Notes
- Video
- Audio
- Using AI to Build Process Tools
- Control Panel
- Management Review
- Process Assignment
- Reports
- Account Administration
- User Settings
- Training Webinars
- How to Videos
- Contact Support
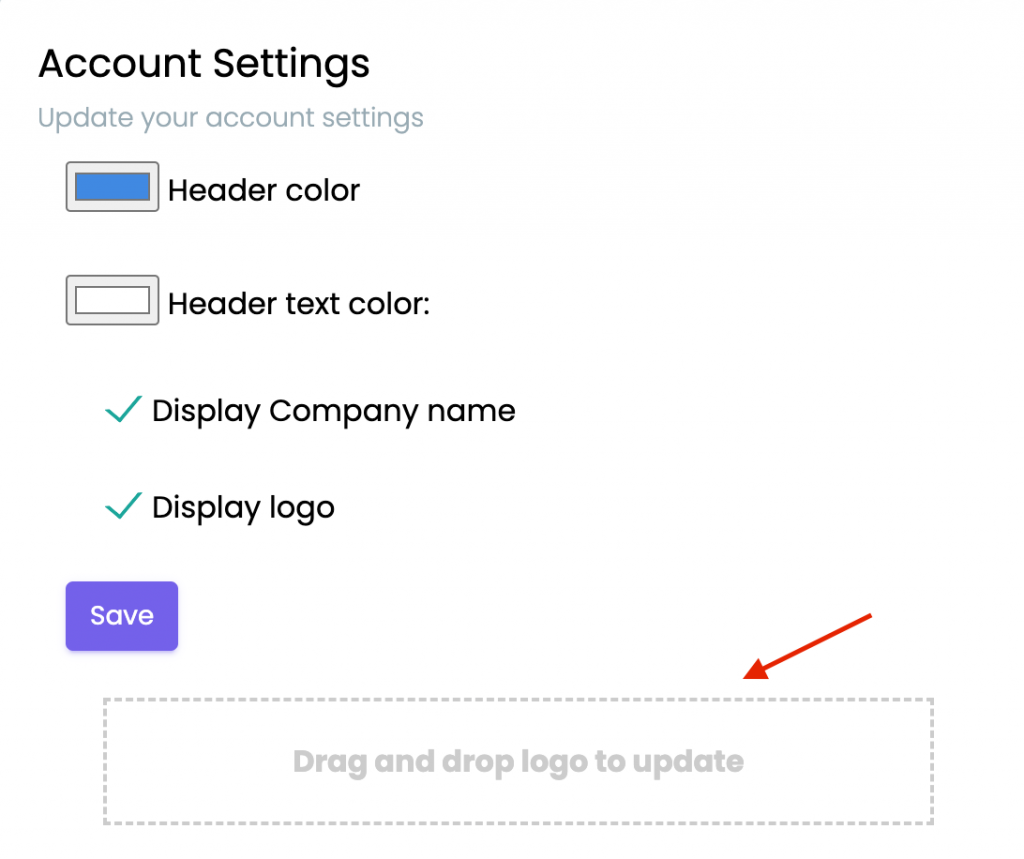
- In Account Settings, click on the box under the “Save” button.

- Select the file you wish to use as your logo (only .gif and .jpg files are accepted).
- Click the “Save” button.
Note: If your logo includes your company name, you might want to uncheck the “Display Company Name” box. You can toggle the display of the company name and logo in the header as needed.)
Continue below for additional resources: