- User Guides
- Getting Started
- Organization Chart
- Job Descriptions
- Four Key Functions
- Four Key Functions
- Sub Functions
- Adding Processes to the Four Functions
- Deleting Processes
- Moving Processes from One Key Function to Another
- Moving / Recording Processes within a Key Function
- Printing Process Lists
- Process Color Identification
- Mark a Process as Complete
- Adding From a Process Library
- Process Documentation Tools
- Documenting Work Processes
- Edit Title and Objective of Process
- Creating New Process Tools
- Editing Existing Process Tools
- Delete a Process Tool
- The Deleted Folder
- Archiving a Process Tool and The Archive Folder
- Printing Process Tools
- Saving Process Tools
- Reordering Process Tools
- Inserting a Hyperlink
- Building Work Plans
- Deleting Tasks and Expectations
- Editing Existing Tasks and Expectations
- Check Lists
- Scripts
- Upload Files
- Documents
- Custom Forms
- Policy Notes
- Video
- Audio
- Using AI to Build Process Tools
- My Processes
- My Employees
- Process Assignment
- Reports
- Account Administration
- User Settings
- Training Webinars
- How to Videos
- Contact Support
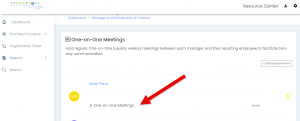
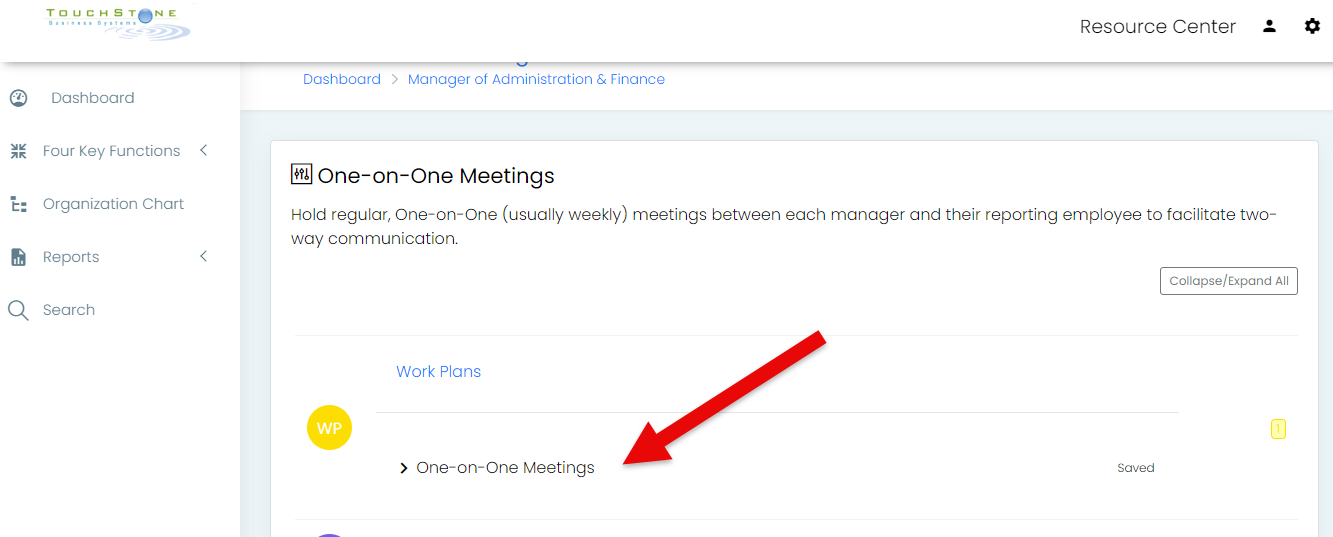
- From “My Processes”, select a Process.

- Select a Process tool.
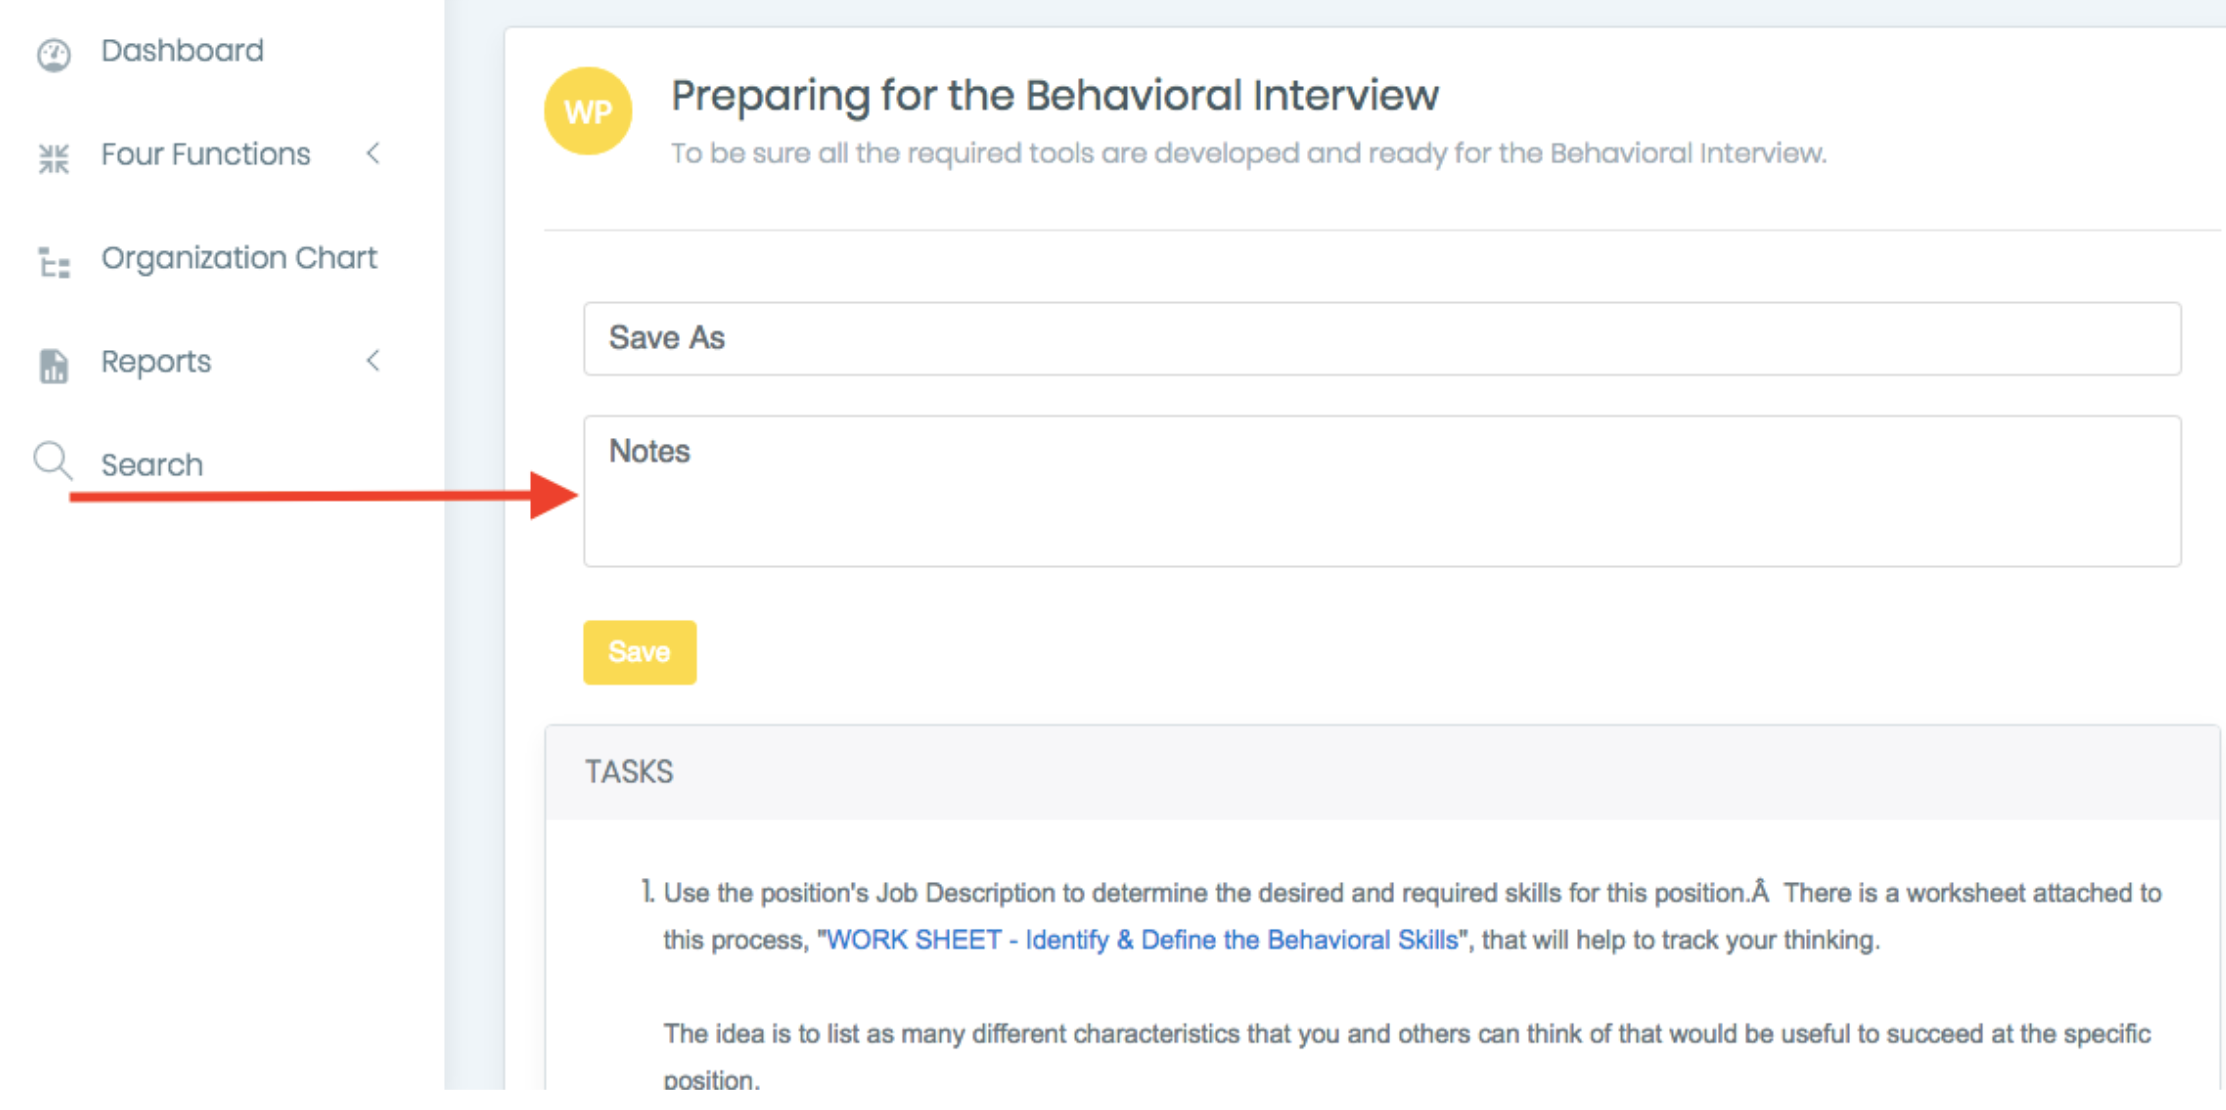
- Enter a title or name for the completed item in the “Save As” field at the top of the Process Tool. This helps identify the process tool and makes it searchable in the saved folder. If left blank, TouchStone will use the current date and time as the title.
- Enter any relevant information or report progress in the “Notes” field. This can include task progress, exceptions, or issues encountered.
- Save: Click the “Save” button to save your work. The completed date and time will be recorded.
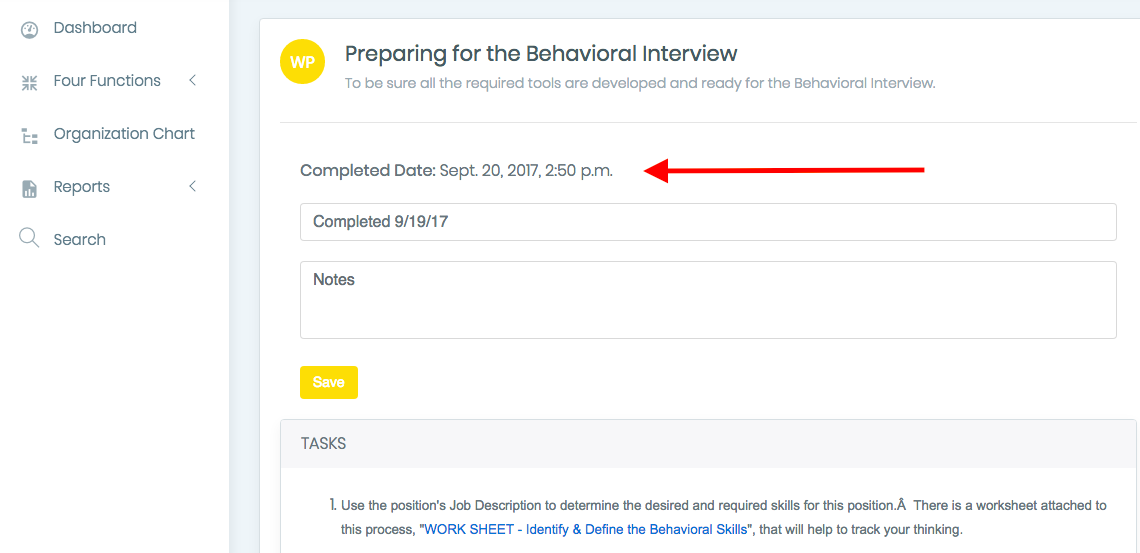
Note: TouchStone uses your computer’s date and time settings to generate timestamps. This ensures accurate records even if local times are adjusted.
Note: Use the cookie crumb trail to navigate back and forth form “My Processes” to the Process, to the Process tools(work plan, checklist, etc.)
Examples
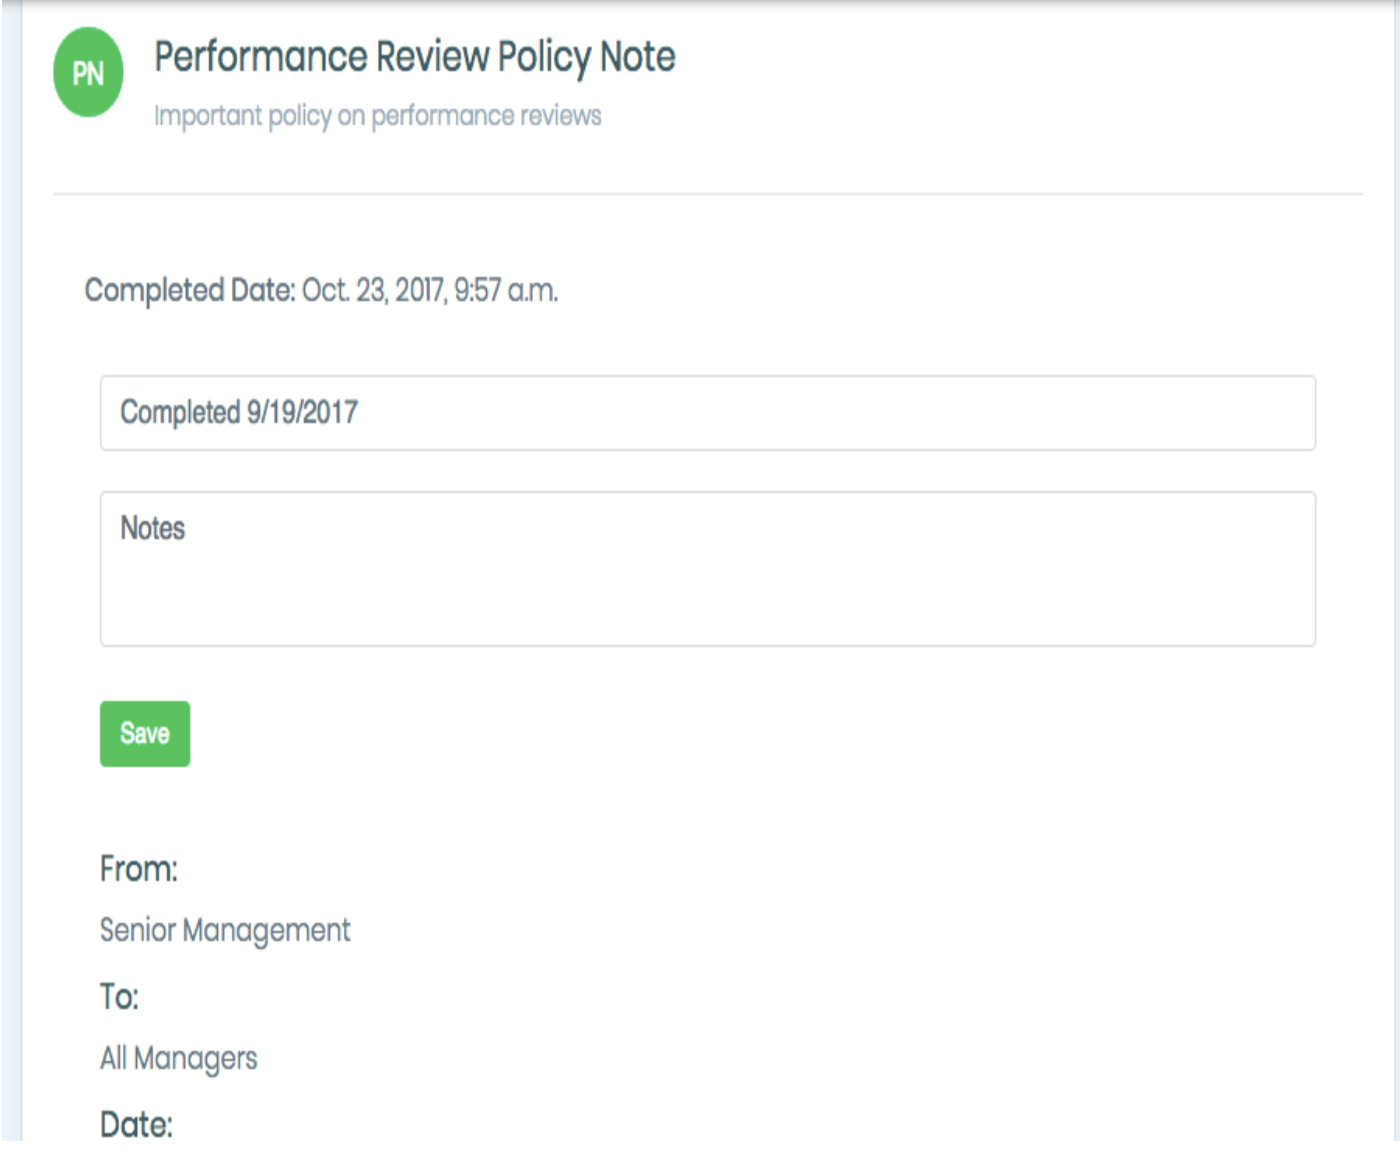
Policy Note – Notes and Completion Date are saved and the Policy Note is also displayed.
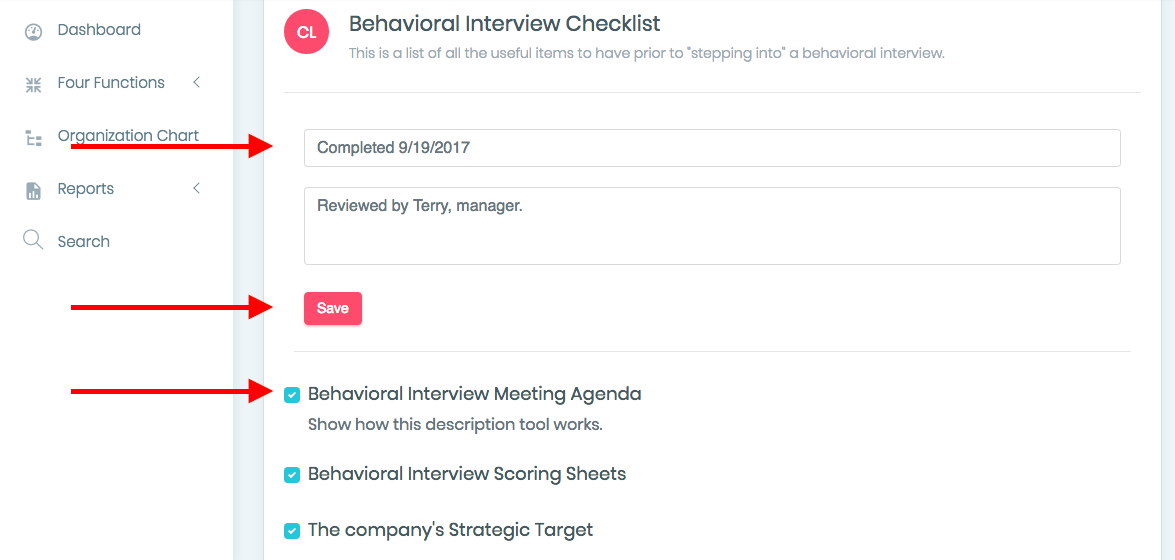
Check List – Notes and Date Completed are saved and displayed as is the actual Check List completed.
Continue below for additional resources: